Menu Navigation
Activities ... Document Management ... New Document
About Documents
Documents records are the essential building blocks of the Document Management system. Documents can come in many forms, from the traditional printed sheets that can be scanned in, to files already on your machine or network, to recorded audio files, to snapshots and video taken with a video camera.
These documents are entered according to a particular format (template), attached to a particular folder that corresponds directly to a record within your accounting database (e.g. Customer, Vendor), and then filed into a drawer or cabinet especially created for that purpose.
In this Topic
Quick Help - Documents
Field by Field Help - Documents screen
Q & A - Documents
Related Topics
14.1 Cabinets & Drawers
14.2 Templates
14.3 User Folders
14.5 Intellifile Explorer
14.6 Searching For Documents
Quick Help - Documents
| 1) | Select the New Document menu option.
|
| 2) | Select the template, cabinet, folder type, and specific folder to save this document in.
|
| 3) | Browse for the file, scan the document or picture, create the sound file, or record the video that will serve as the document itself.
|
| 4) | Select whether to give the document a password and how long to keep it.
|
| 5) | Save the document.
|
Field by Field Help - Documents screen
Buttons
Document Options
Click this button to view the advanced options for this document. (e.g., Document Password)
Document Revisions
Click this button to view the revisions this document has undergone.
Fields
Template
Select the document template to be used in defining and setting default settings for this document.
Cabinet
Select the cabinet in which this document belongs.
Folder Type
Select the type of folder that this document should be filed in. Folders are associated with a specific record in your accounting system, such as a Customer, Vendor, or Sales Invoice.
| After selecting the folder type, you will be prompted to enter a corresponding piece of information. For example, if you choose the employee folder type, you will be prompted for an employee ID. If you select a sales invoice, you will be asked for a transaction ID, etc.
|
|
|
| Selecting a detail folder (e.g., Sales Invoice) will automatically place a copy of the document in the master folder of the parent record (e.g., Customer). Therefore, you can easily access the document from the related record in the program.
|
Folder Name
Displays the name of the folder to which this document belongs.
Document Date
Displays the date on which this document was first created.
Last Revised
Displays the date on which the last revision was made to this document.
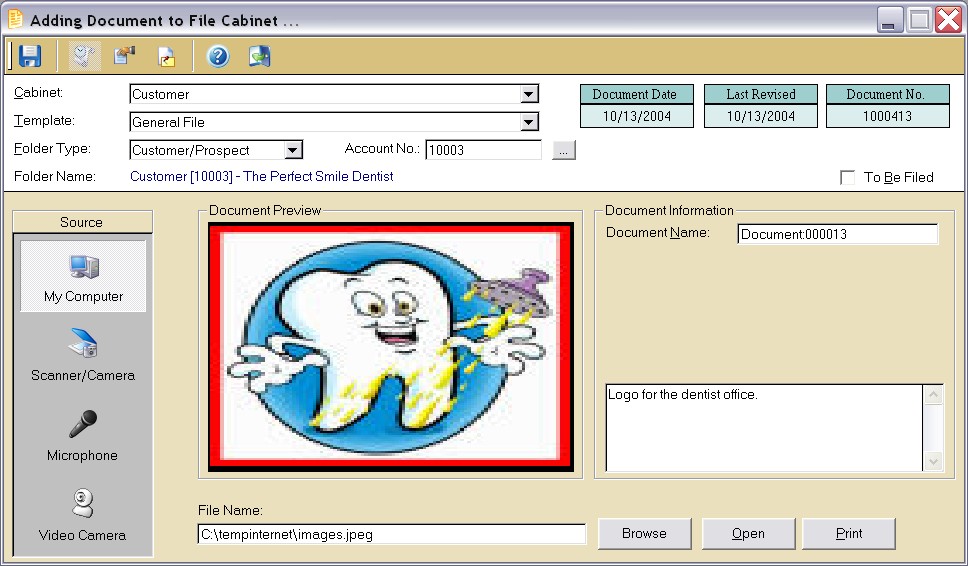
Figure 13-2. Adding a Document
Document No.
Displays the internally-generated number for this document.
To Be Filed
Check this box to denote that the document has yet to be filed in a particular cabinet or folder. Checking this box will hide the cabinet, folder type, and folder name fields.
Source
Select the source from which this document is coming. Some sources may not be available, depending upon your software license. Please contact your sales representative for more information.
| My Computer | Document is a file contained somewhere on one of the computer's drives.
|
| Scanner/Camera | Document is going to be scanned in from a document scanner or imported in from a digital camera.
|
| Microphone | Document is going to be a sound file. The input will be the microphone attached to the computer's sound card.
|
Document Preview
Displays a small thumbnail view of the document.
Document Information
Enter the information that pertains to this document. There are up to six fields available for information entry: one entitled Document Name, and five user-defined fields that can be defined in the document template.
[Notes]
Enter any additional information about the document.
When the Source is My Computer, the following options will be available:
File Name
Enter or search for the name of the file to attached as the document. When entering the file name by hand, the full path and file name (i.e. C:\My Documents\example.doc) must be used.
Browse
Click this button to search for the file name rather than typing it in manually.
Open
Click this button to open the file indicated using the default application for that file type. This button is available only on an existing, previously saved document.
Click this button to print the file indicated using the default application for that file type. This button is available only on an existing, previously saved document.
When the Source is Scanner/Camera, the following options will be available:
Capture
Click this button to initiate the capture process (obtaining the scanned image or digital photograph).
Append
Click this button to add a new page or an additional photo image to the end of the current document. This will only be available of document types that support multi-page formats (PDF, JBIG, TIFF).
Open
Click this button to open the file indicated using the default application for that file type. This button is available only on an existing, previously saved document.
Click this button to print the file indicated using the default application for that file type. This button is available only on an existing, previously saved document.
When the Source is Microphone, the following options will be available:
Rewind
Click this button to rewind to the beginning of the sound clip. This button will be available when a sound clip has been recorded and the current time position is not at the beginning of the clip.
FF
Click this button to fast forward to the end of the sound clip. This button will be available when a sound clip has been recorded and the current time position is at the beginning of the clip.
Play
Click this button to play the sound clip from the current time position.
Stop
Click this button to stop the sound clip.
Record
Click this button to start recording a sound clip from the current time position.
[Timer]
Displays the current time position of the sound clip in minutes and seconds.
When the Source is Video Camera, the following options will be available:
Snapshot
Click this button to record a single frame snapshot with the PC Camera.
Click this button to print a single-frame snapshot that has been previously recorded.
Play
Click this button to begin playing a video from the current time position.
Stop
Click this button to stop playing the video document currently selected.
Record
Click this button to start recording a video with the PC Camera at the current time position.
[Timer]
Displays the current time position of the video clip in minutes and seconds.
Document Options
Retain Until
Enter or select the date that this document should not be deleted before. This date will fill in by default depending on settings that were set in the document template.
Password
Enter a password for this document if this document is to be password protected. This password will then need to be entered to view, modify, or delete this document.
Filename
Displays the full path and filename where the document is stored.
Document Revisions
Revision
Enter or select the revision number of this document to view.
Q & A - Documents
| Q01. | I want to scan a document in, but I am logged into ManageMore through Terminal Services. Am I able to do this, especially since the scanner is attached to my local computer and not the server itself?
|
| A01. | Yes, but it will take some specialized software and some configuration on the Terminal Server itself. The same is true for Citrix Metaframe. Please contact Technical Support for a detailed explanation of what would need to be done to get this to work properly.
|
|
|
| Q02. | I don't see my question here. Where else can I get information?
|
| A02. | Visit our website's Technical Support section.
|